Getting a Refusal on your Canadian visa application can feel heartbreaking. Whether it was for a visitor visa, study permit, work permit, or even permanent residence, a negative decision letter from Immigration, Refugees and Citizenship Canada (IRCC) can create stress, confusion, and fear about your future plans.
At Eiffel Immigration, we have been helping clients for the decade. One thing we always tell our clients is this: A Negative Decision is not the end. It is a setback — and setbacks can be fixed with the right strategy.
In this article, we will explain in simple language:
-
Why Refusals happen
-
What you should do immediately after a Refusal
-
How to reapply properly
-
Common mistakes to avoid
-
How professional guidance can improve your success rate
Let’s break it down step by step.
Understanding a Visa Refusal
A Refusal means the visa officer was not satisfied that you met the requirements under Canadian immigration law. It does not mean you are banned. It does not mean you can never apply again.
Every negative decision letter includes reasons. Some are general, and some are specific. The key to success is understanding the real reason behind the decision.
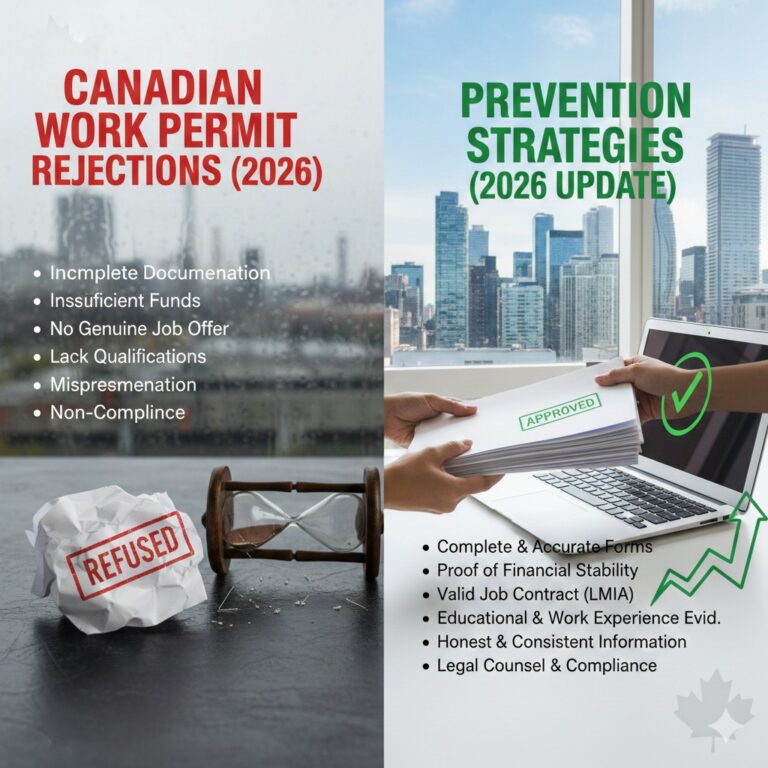
Common Reasons for Refusal
Here are the most common reasons we see:
-
Insufficient proof of funds
-
Weak ties to home country
-
Travel history concerns
-
Purpose of visit not clear
-
Inconsistent documents
-
Employment or financial instability
-
Misrepresentation (serious issue)
Each decision is different. That is why copying someone else’s reapplication strategy rarely works.
Step 1: Do Not Panic After a Negative Decision
We understand the emotional reaction. Many clients call us immediately after receiving a Refusal and say, “Now what?”
The first step is simple:
Stay calm and read the refusal letter carefully.
Do not rush into reapplying the next day. Submitting the same documents again without changes almost always results in another Refusal.
Step 2: Order GCMS Notes (Very Important)
If your Refusal reasons are not clear, you should order GCMS notes.
GCMS (Global Case Management System) notes give detailed officer comments about why your application was refused. These notes come directly from IRCC’s internal system.
This step is especially important for:
-
Study permit refusals
-
Spousal sponsorship refusals
-
Express Entry refusals
-
Visitor visa refusals with vague reasons
Without understanding the officer’s real concern, reapplying becomes guesswork.
Step 3: Identify the Real Problem
Many applicants think the Refusal was because of one issue, but after reviewing the file properly, we often find the real concern is something else.
For example:
-
The letter says “financial concerns,” but the real issue was unexplained large deposits.
-
The letter says “purpose of visit,” but the real issue was weak travel history.
-
The letter says “not satisfied you will leave Canada,” but the file showed unstable employment.
You must fix the root problem — not just add more documents.
Step 4: Strengthen Your Application Before Reapplying
A successful reapplication is not about sending more papers. It is about sending better, clearer, and stronger documents.
Here’s how:
1. Improve Financial Documentation
-
Show consistent income
-
Provide tax documents
-
Explain large transactions
-
Add sponsor documents (if applicable)
2. Strengthen Home Country Ties
-
Employment letter with leave approval
-
Business registration documents
-
Property ownership
-
Family ties proof
3. Write a Strong Explanation Letter
Your cover letter is critical after a Refusal. It should:
-
Clearly address previous refusal reasons
-
Explain changes made
-
Show transparency
-
Provide logical reasoning
We always prepare detailed, structured submission letters for reapplications at Eiffel Immigration.
Step 5: Avoid Misrepresentation at All Costs
One of the most serious issues related to a Refusal is misrepresentation.
Misrepresentation can lead to:
-
5-year ban from applying to Canada
-
Refusal of all future applications
Never hide previous Negative Decisions. Canada keeps records in its system.
Always declare:
-
Previous Refusals
-
U.S., UK, Australia, or Schengen refusals
-
Any immigration history
Honesty is critical.
Step 6: Decide – Reapply or File Judicial Review?
In some cases, especially permanent residence or complex cases, you may have options such as:
-
Reapplying
-
Filing a reconsideration request
-
Judicial review in Federal Court
Judicial review is done through the Federal Court of Canada and must be filed within strict timelines.
This option is usually considered when:
-
The officer made a legal error
-
Important documents were ignored
-
The decision was unreasonable
This is more common in PR and sponsorship cases, not visitor visas.
Special Section: Visitor Visa Refusal
Visitor visa Refusal is very common.
Visa officers mainly check:
-
Will you leave Canada after your visit?
-
Do you have enough money?
-
Is your travel purpose genuine?
If you are reapplying after a visitor visa negative decision:
-
Show stronger ties
-
Improve financial proof
-
Add detailed travel plan
-
Include invitation letter (if applicable)
-
Explain why previous concerns are resolved
Timing also matters. Sometimes waiting a few months and improving your profile increases chances.
Special Section: Study Permit Refusal
Study permit Refusal usually involves:
-
Career progression issues
-
Financial insufficiency
-
Doubts about returning home
After Negative Decision:
-
Justify course relevance
-
Explain career gap
-
Provide clear career plan
-
Show tuition payment proof
-
Strengthen SOP (Statement of Purpose)
Many students reapply without changing their SOP — and get refused again.
How Long Should You Wait Before Reapplying?
There is no mandatory waiting period after a Negative Decision.
But you should only reapply when:
-
You have fixed the issues
-
Your documents are stronger
-
Your explanation is clear
Reapplying too quickly without changes often leads to a second Negative Decision.
Does a Negative result Affect Future Applications?
Yes — but not permanently.
Canada records every Refusal in your immigration history. Future officers can see it.
However, a properly handled reapplication can overcome previous negative results successfully.
We have seen many clients receive approvals after one or even two Refusals — when strategy was corrected.
Why Professional Help Matters After a Negative Result
After a Negative Decision, your case becomes more sensitive.
Visa officers may review your file more carefully.
At Eiffel Immigration, after years of experience, we:
-
Analyze negative decision letters deeply
-
Review full documentation
-
Order GCMS notes when required
-
Prepare detailed legal-style submissions
-
Guide clients on improving financial and employment profiles
A second case should never be treated as a normal fresh application.
Realistic Expectations After a Negative Decision
Let’s be honest.
Not every Negative Decision can be fixed immediately.
Sometimes:
-
Financial profile needs time to improve
-
Employment history needs stability
-
Travel history needs development
Patience and planning are key.
Final Thoughts: A Refusal Is a Redirection, Not a Rejection
A Canadian visa rejection can feel discouraging — but it does not define your future.
With proper analysis, transparency, stronger documentation, and correct legal strategy, many applicants succeed after a Negative Decision.
If you or someone you know has received a negative decision from Immigration, Refugees and Citizenship Canada, do not lose hope.
The key is not just reapplying.
The key is reapplying smartly.